Subtotal: ₦2,550.00

In the spirit of the Yuletide season, we thought it’d be nice for makers of all ages to make something for the season. So today we will be creating an awesome DIY Electronics based greeting cards. Asides the fact that this will teach the concepts of basic electronics, it may be an opportunity for families to bond by building something together. So grab the cardboard Dads and the Markers Moms, lets have some fun.
Components and tools
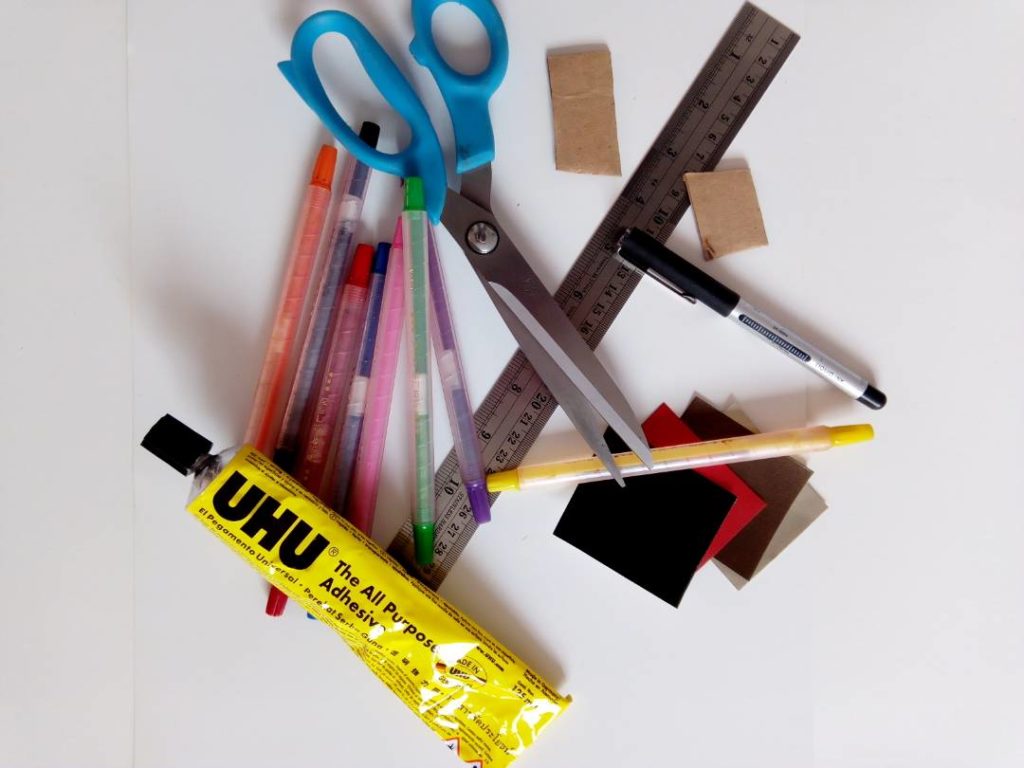
To make this card, the following components will be required are;
- Color Cardboard Paper
- Glue
- A Ruler
- Scissors
- Multi Color Pens
- Hub360 cr2032 Coin cell battery.
- coin cell battery holder
- Jumper wires
- LEDS
Links to getting the components are attached, just click on them and it will lead you right to our page. The other components like scissors and glue are things I am sure mom has tucked away somewhere!
Components and tools in place? lets move to making the cards.
Making the card should probably be dicvided into two;
- Card Design
- Circuit Implementation
We will take this two steps one after the other and at the end we would have made a beautiful card. I hope yours will be finer than ours though, with all that ingenuity, so feel free to modify.
Card Design
The card design is basically the artistic process of creating the greeting card. we did it by following the steps below.
Step 1: Select Card type and Color
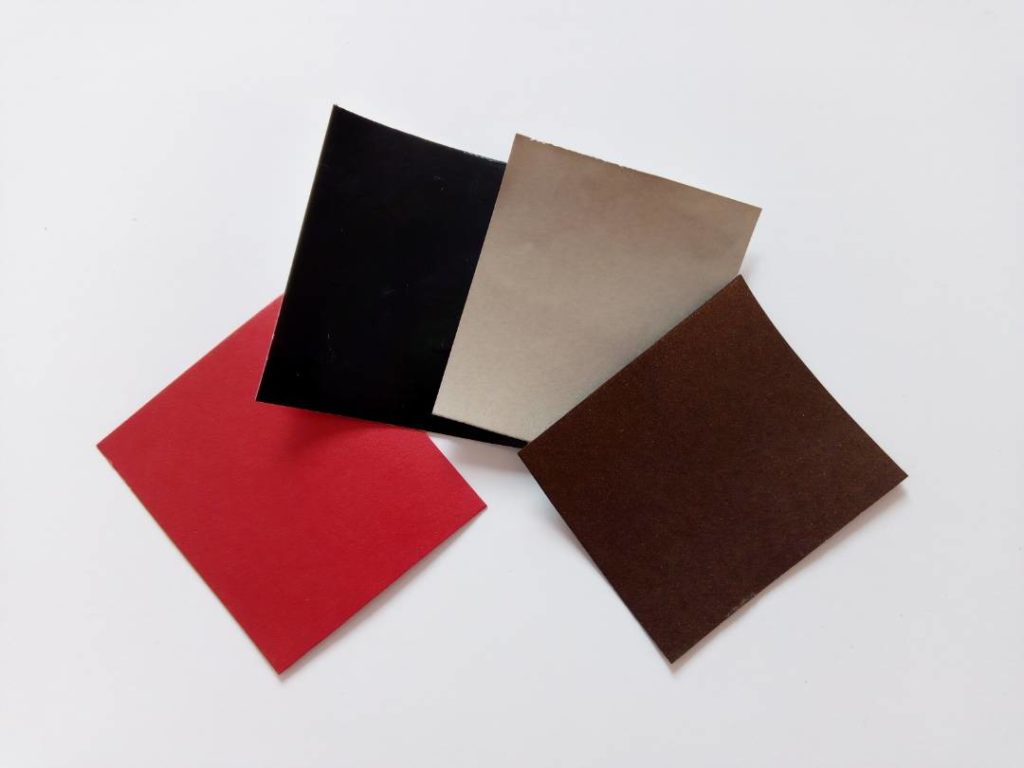
In the spirit of the Yuletide season, we decided to go with Red and White cardboards. for us this was readily available so we sort of just made it work, but you can decide to go with any brilliant color combination of your choice.
Step 2: Cut Card into Desired Shape and Design
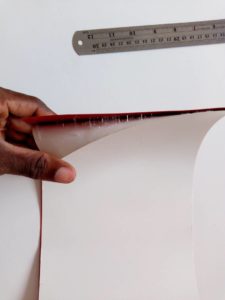
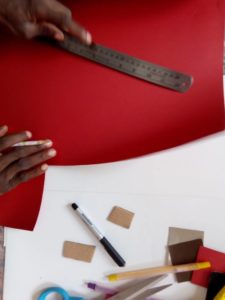
After selecting the card color you want to go with, the next thing is to get to work on the card design. First thing is to cut it using a ruler(for neatness) into the shape and size that you want. Four our card we wanted a rectangle three fold card because it was easy to work with.
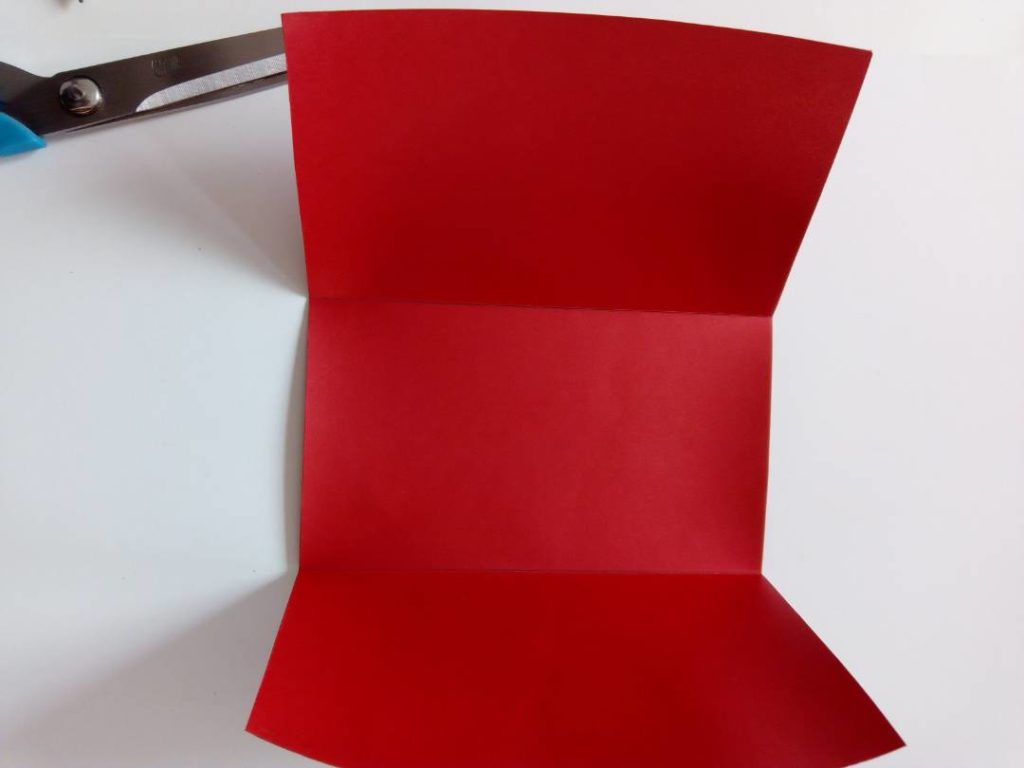
We decided to make our card into a three fold, so that one fold can be used to cover the middle fold which will house our electronic components.
With the card Folded, to make it strong we decided to add another layer of cardboard paper and this time we decided to go with the color white as we like the kind of finish, the white color Added to the system.
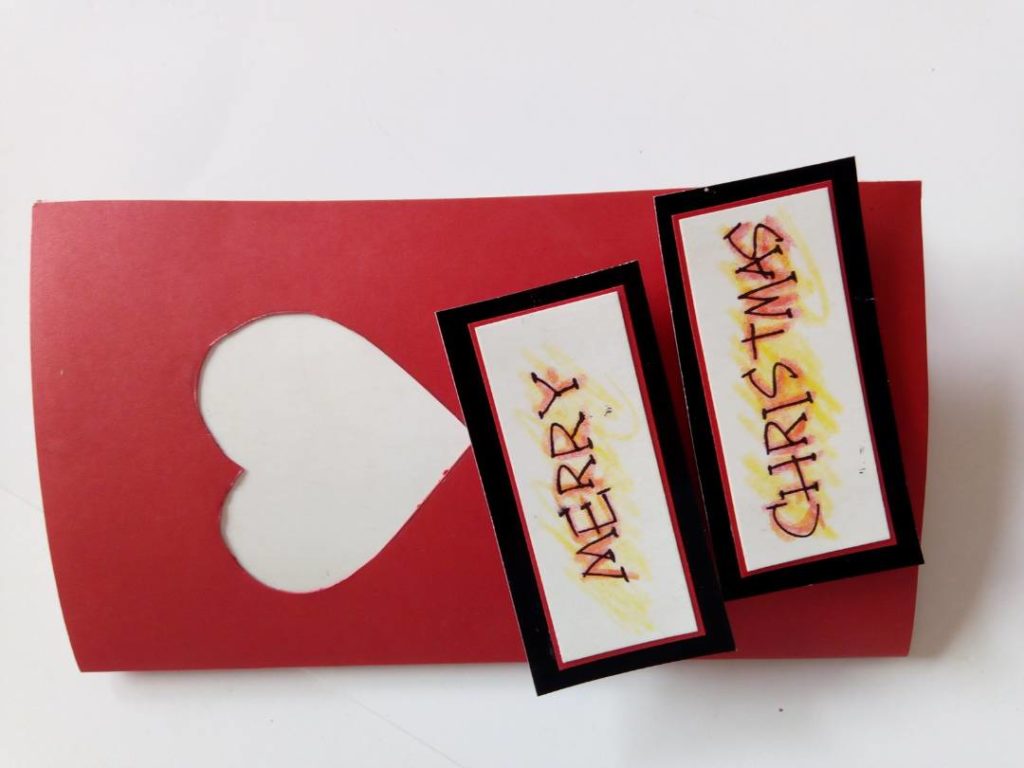
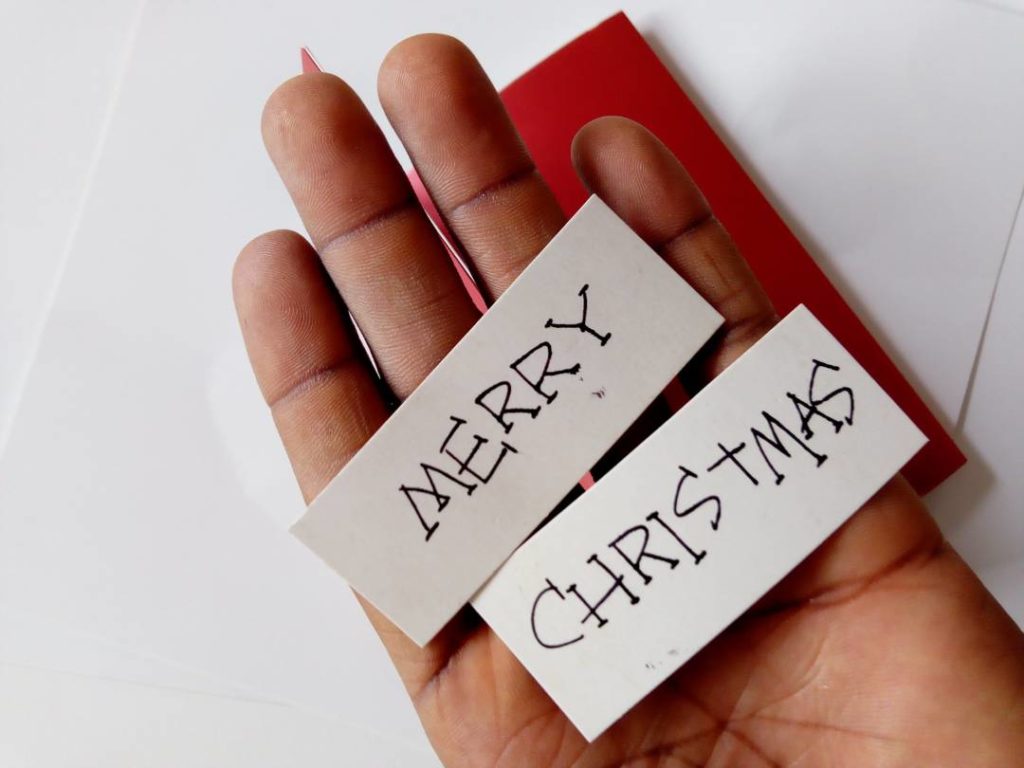
After Folding you can then proceed to design the card like, cutting out the heart like we did in the picture below or adding the Merry Christmas attachments we decided to add.
With this done, we are officially ready to move to implementing the circuit.
Circuit Implementation
The circuit for this project is basically to put on the LED in the Card, no complex maneuver just something for fun and to learn some electronics basic.
Schematics
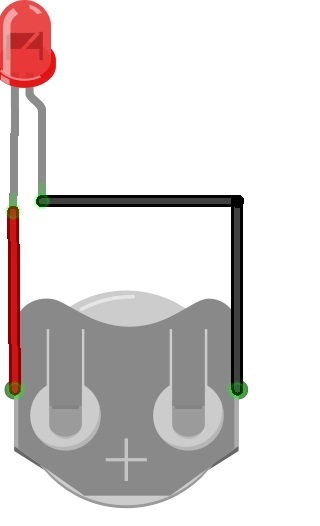
We will be following this simple schematics to connect the components.
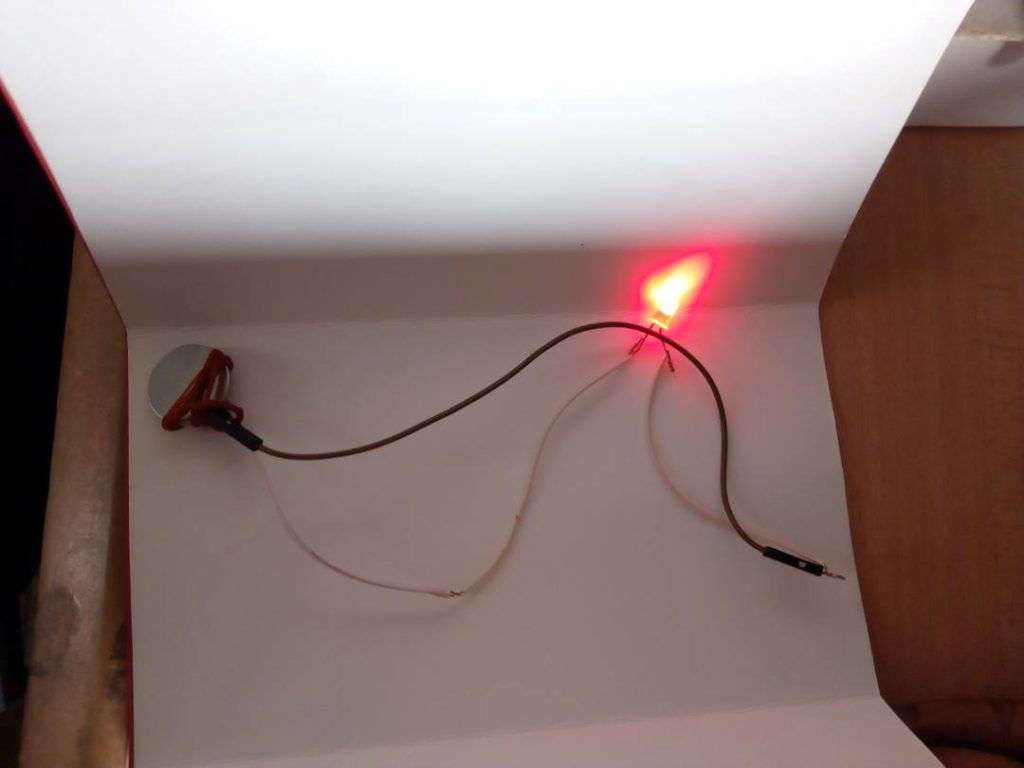
So we decided to make this super easy and make it a real duck tape prototype kind of project, instead of using soldering irons to attach the components we decided to use a rubber band, great advice from our boss. just to ensure this is totally something you can make at home.
That’s it guys. This is a perfect project to hack with the family. Let us know whatever cool thing you do with this.
Cheers!!


