Subtotal: ₦158,650.00

Hi guys, welcome to today’s tutorial, I will be showing you how to view the raspberry pi GUI on your windows 10 computer. I recommend you go through the part A of this episode if you haven’t before going through this. The last tutorial I showed you how to SSH into your raspberry pi using a windows 10 computer, but hey! Not everyone likes to work on the terminal, so you will be able to view and work on the Raspbian Jesse GUI after reading this.
So let’s get to it
Components
No new components required, so all you need is the same components required in the previous tutorial.
- Raspberry pi 2/3
- SD card
- Ethernet cable
- Windows pc
And yes you won’t be needing the SD card reader today.
Firstly insert the SD card into your pi’s SD card slot and then power up your pi, wait for a few seconds until the green light indicator goes off (unlike last tutorial when you were installing the OS for the first time this only takes a little time).
Connect your pi to your PC using the Ethernet cable and then open up command prompt like we did in the last tutorial in other to get the pi’s IP address and type in
ping raspberrypi.mshome.net
Hit enter.
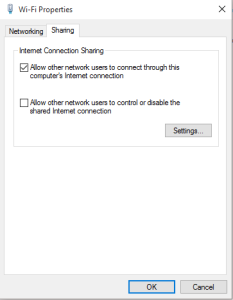
If you don’t get a reply showing the pi’s IP, try the command again and if you still don’t get a reply you might have to open your network connections settings and check if the check box is still ticked.
Try the command now and you should definitely get a reply.
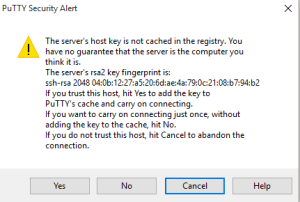
Next you open up putty, type in your pi’s IP address and then click the open button.
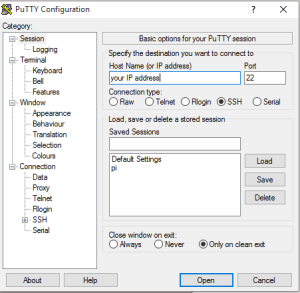
Click the yes button.
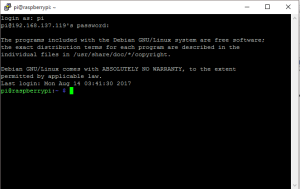
Your login details are, username “pi” and password “raspberry”.
And you are in. Now for you to view the Raspbian Jesse GUI on your PC you need to install a package on your raspberry pi but before that you need your pi to be up to date and to do that type in the command
$ sudo apt-get update
Hit the enter key (you always have to run the update before upgrading). When completed you will see the prompt again. Now type in the command to get your pi up to date
$ sudo apt-get upgrade
Hit the enter key, it will take a while so you might have to wait. When done you will need to install a package for you to be able view your PI’s desktop on your PC. Type in the command
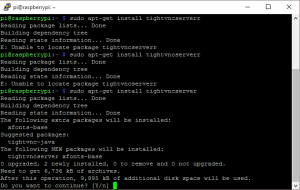
$ sudo apt-get install tightvncserver
And then hit the enter key. You obviously want to continue so type in “y” and hit enter.
When done type in the command
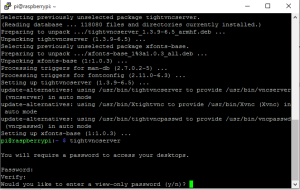
$ tightvncserver
Hit the enter key. You will be required to type in the password will you will need to access the pi’s desktop on your PC.
Type in “y” and then hit the enter key. You might be required to type in your password again.
When done you should get a reply
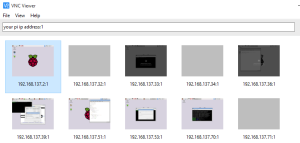
Next minimize putty and then visit this link https://www.realvnc.com/en/connect/download/vnc/ to download vnc viewer for windows, when done install and run it.
Type in your ip address as shown below.
(xxx.xxx.xxx.xxx:1)
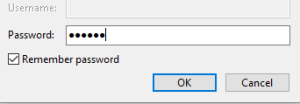
Hit enter and you will will be required to type in the password you choose ealier then click the ok button.
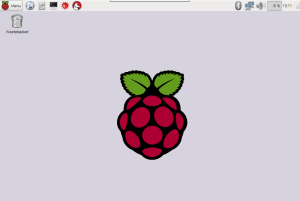
Whoooola !!!!!!!!!! you are in.
That it guys, I hope this was helpful and as usual if you have any problem or contributions to this episode please leave a comment and I will gladly reply. Next episode I will be going into the raspberry pi GPIOs and we will write our first code in python.
Yours Truly
Clement Dike


