- You have no items in your shopping cart
- Subtotal: ₦0.00
Description:
The multifunctional expansion board basic learning kit for Arduino is an all-in-one starter kit designed for beginners and enthusiasts looking to explore and learn Arduino programming and electronics. It includes a variety of essential components and modules integrated into an expansion board that interfaces seamlessly with Arduino development boards like the Arduino Uno, Nano, or Mega. This kit enables users to build and experiment with a wide range of projects, from basic circuits to more complex sensor-based applications.
Key Features:
- Compatible with Arduino Uno, Nano, Mega, and other Arduino boards
- Integrated expansion board with multiple modules and sensors
- Includes components such as LEDs, buttons, resistors, sensors (temperature, humidity, light), motor driver, and more
- Provides a platform for learning basic electronics, programming, and sensor interfacing
- Ideal for educational purposes, DIY projects, and prototyping
- Plug-and-play design for easy setup and experimentation
- Comes with tutorials and example projects to facilitate learning and creativity
Technical Specifications:
- Compatibility: Arduino Uno, Nano, Mega, and other compatible boards
- Power Supply: Typically powered by the Arduino board (5V)
- Interface: GPIO headers for easy connection of sensors and modules
- Dimensions: Compact and varies by model
- Software: Compatible with Arduino IDE for programming and development
Applications:
- Educational Projects and Workshops
- DIY Electronics and Prototyping
- Sensor-based Projects (e.g., temperature monitoring, motion detection)
- Robotics and Automation
- IoT (Internet of Things) Applications
Contents:
- Multifunctional expansion board
- Assorted sensors and modules
- Jumper wires, resistors, LEDs, and buttons
- Example projects and tutorials
Datasheet : datasheet
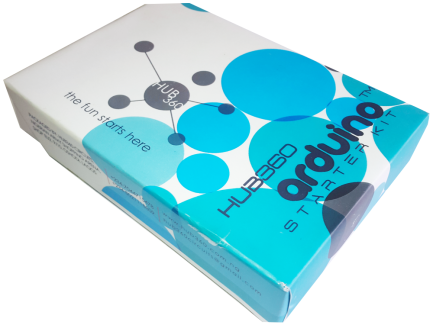
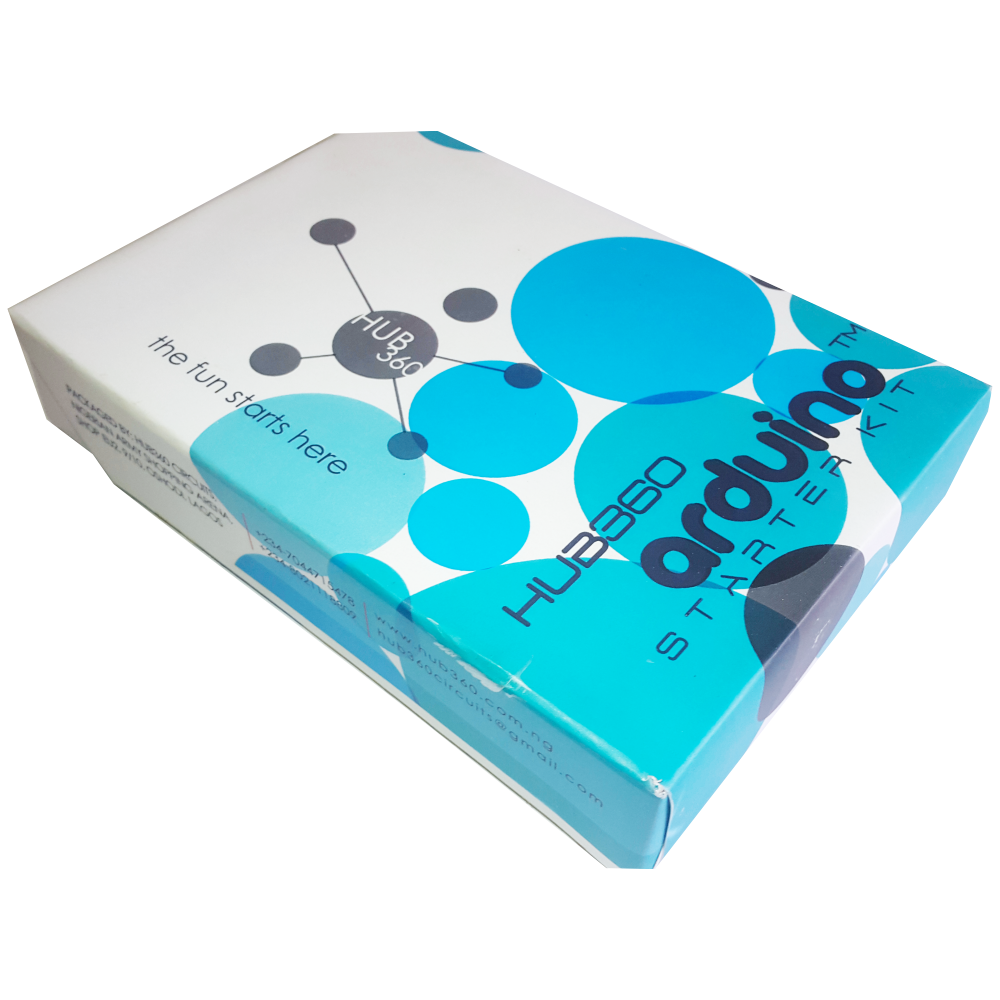
The Hub360 Arduino Starter Kit with SMD Uno is a comprehensive package designed for beginners and enthusiasts looking to dive into the world of electronics and programming. This kit includes an SMD (Surface-Mount Device) version of the Arduino Uno, which is a microcontroller board based on the ATmega328P. The kit provides a variety of components and modules to help users learn and experiment with different electronic projects and concepts.
Key Features:
- Includes SMD version of the Arduino Uno board
- Comprehensive set of components and modules for various projects
- Ideal for beginners and hobbyists
- Detailed tutorial and project guide included
- USB interface for easy programming and power
- Compatible with Arduino IDE and various libraries
Technical Specifications:
- Microcontroller: ATmega328P
- Operating Voltage: 5V
- Input Voltage (recommended): 7-12V
- Digital I/O Pins: 14 (6 PWM outputs)
- Analog Input Pins: 6
- DC Current per I/O Pin: 20mA
- Flash Memory: 32KB (ATmega328P) of which 0.5KB used by bootloader
- SRAM: 2KB (ATmega328P)
- EEPROM: 1KB (ATmega328P)
- Clock Speed: 16 MHz
Kit Contents:
- ARDUINO SMD BOARD 1
- ARDUINO USB CABLE 1
- ARDUINO BATTERY CONNECTOR 1
- 400 HOLE BREADBOARD 1
- LED (RED, YELLOW , GREEN, WHITE) 20
- RGB LED 1
- JUMPER WIRE(M-M, M-F, F-F) 120
- PHOTORESISTOR (LDR) 3
- MALE HEADERS 40
- ULTRASONIC SENSOR 1
- FLAME SENSOR 1
- TEMP./HUMIDITY SENSOR 1
- TILT SENSOR 1
- LASER SENSOR 1
- PIR MOTION SENSOR 1
- RESISTORS(220K, 1K, 10K,100K) 40
- 7 SEGMENT DISPLAY 1
- SG90 SERVO 1
- REMOTE CONTROL 1
- BUZZER 1
- 2N2222 2
- TSOP 1838 1
- RF TRANSMITTER 1
- RF RECEIVER 1
- TACT SWITCH 5
- 16*2 LCD DISPLAY
Applications:
- Learning basic electronics and programming
- Building interactive projects and prototypes
- Developing skills in microcontroller-based design
- Experimenting with sensors and actuators
- Creating DIY electronic devices
Usage:
- Setup:
- Connect the SMD Arduino Uno board to your computer using the USB cable.
- Install the Arduino IDE and configure it to recognize the board.
- Programming:
- Write or upload sample code (sketches) to the Arduino board using the Arduino IDE.
- Utilize the provided components and modules to build and test different circuits.
- Experimentation:
- Follow the detailed tutorials and project guide to create various projects.
- Modify and expand on the sample projects to enhance learning and creativity.
Caution:
- Handle the components carefully to avoid damage.
- Ensure proper connections and polarity to prevent short circuits or component failure.
- Verify the code and circuit connections before powering the board.
Datasheet:
For detailed technical specifications of the Arduino Uno, refer to the Arduino Uno Datasheet.
The ESP32-DevKitC is a development board based on the ESP32-WROOM-32D module, designed for prototyping IoT applications and projects. It combines Wi-Fi and Bluetooth capabilities with a powerful dual-core processor, making it suitable for a wide range of applications.
Key Features:
- Microcontroller: ESP32-WROOM-32D with dual-core Tensilica LX6 processor.
- Wireless Connectivity: Integrated Wi-Fi (802.11b/g/n) and Bluetooth (BLE) for IoT applications.
- Peripheral Interfaces: Includes GPIOs, SPI, I2C, UART, ADC, DAC, and more for interfacing with sensors and peripherals.
- Programming: Supports Arduino IDE, ESP-IDF (Espressif IoT Development Framework), and other development environments.
- On-board Components: Typically includes USB-to-serial converter, voltage regulator, and reset button.
- Development Support: Extensive community support and documentation for rapid prototyping and development.
- Power Supply: Can be powered via USB or external power supply (5V DC).
- Form Factor: Compact size with mounting holes for easy integration into projects.
- Security: Features hardware-based security with cryptographic accelerators.
Technical Specifications:
- Dimensions: Varied, typically compact (around 52mm x 28mm).
- Memory: Up to 520 KB SRAM, external SPIRAM support.
- Operating Voltage: 3.3V (powered from USB or external supply).
- Clock Speed: Up to 240 MHz.
- Interfaces: UART, SPI, I2C, I2S, PWM, ADC, DAC, etc.
- Operating Temperature: -40°C to +85°C.
Applications:
- IoT devices and sensors.
- Home automation.
- Wearable devices.
- Industrial automation.
- Prototyping and development of wireless applications.
Datasheet: For detailed technical information, refer to the ESP32-DevKitC Datasheet.
The 4DOF Wooden Robotic Arm kit is a DIY educational kit designed for learning robotics and mechanical principles. It allows enthusiasts to build and control a functional robotic arm using wooden components and servo motors, providing hands-on experience in robotics, engineering, and programming.
Key Features:
- Four Degrees of Freedom (4DOF) for articulated movement
- Wooden components for structural integrity and aesthetics
- Servo motors for joint actuation
- Includes necessary hardware and assembly instructions
- Compatible with Arduino and other microcontrollers
- Educational tool for learning robotics and programming concepts
- Suitable for hobbyists, students, and educators
Technical Specifications:
- Degrees of Freedom: 4
- Material: Wooden components
- Actuators: Servo motors
- Power Supply: Typically powered by a DC power adapter or batteries
- Control Interface: Compatible with microcontrollers like Arduino
- Programming: Allows for programming of movement sequences and automation
- Dimensions: Varies by model and design
Applications:
- STEM education
- Robotics workshops
- Prototyping and experimentation
- Demonstrations and exhibitions
- Skill development in mechanical assembly and programming
The Robotic Arm Maker Kit is an educational and DIY robotics kit designed for enthusiasts, students, and makers who want to explore the world of robotics. This kit provides all the necessary components to build and program a functional robotic arm, offering hands-on experience in mechanical assembly, electronics, and programming.
Key Features:
- Mechanical Structure: High-quality, sturdy components for the robotic arm’s base, joints, and grippers.
- Servos and Motors: Includes multiple servos and motors for smooth and precise movements.
- Control Board: Comes with a compatible control board, often Arduino or similar, for easy programming and control.
- Sensors: Includes various sensors such as IR, ultrasonic, and limit switches for enhanced functionality.
- Power Supply: Comes with a power supply unit or battery holder for portable use.
- Software: Compatible with popular programming environments like Arduino IDE, Scratch, and Python.
- Assembly Tools: Includes necessary tools for assembly, such as screwdrivers and wrenches.
Technical Specifications:
- Arm Reach: Up to 40 cm (depending on the model)
- Degrees of Freedom: Typically 4 to 6 (base rotation, shoulder, elbow, wrist, gripper)
- Payload Capacity: Up to 500 grams
- Servos: Standard and high-torque servos (model and torque specifications vary)
- Control Interface: USB, Bluetooth, or Wi-Fi (depending on the control board)
- Power Supply: 6V-12V DC (depending on the servo and motor requirements)
- Material: Aluminum alloy, plastic, and metal components
Applications:
- Educational Projects: Ideal for teaching robotics, engineering, and programming in classrooms.
- DIY Projects: Perfect for hobbyists and makers looking to build and customize their own robotic arm.
- Prototyping: Useful for rapid prototyping and testing of automation systems.
- Research: Suitable for research in robotics, automation, and artificial intelligence.
Assembly Instructions:
- Base Assembly: Attach the base plate to the main servo.
- Joint Assembly: Connect the shoulder, elbow, and wrist joints using the provided servos.
- Gripper Installation: Attach the gripper mechanism to the wrist servo.
- Wiring: Connect all servos and sensors to the control board.
- Power Supply: Connect the power supply to the control board.
- Programming: Upload the provided code or write custom programs using the compatible software.
Caution:
- Avoid overloading the servos beyond their specified torque limits.
- Ensure proper wiring to prevent short circuits.
- Use the provided tools carefully during assembly.


